Mastering Cup-to-Gram Equivalents in Everyday Baking
A practical guide for precise baking measurements at home
Understanding cup to gram conversions is one of the most essential but often confusing parts of home baking. For anyone who’s ever followed a recipe from another country—or switched from measuring cups to a kitchen scale—it becomes immediately clear how important accurate measurements are for consistent results. This guide is designed for home bakers, culinary students, and kitchen enthusiasts who want to take the guesswork out of converting cups to grams.
Whether you're baking banana bread, chocolate chip cookies, or sourdough, knowing the correct weight of ingredients in grams ensures your baked goods come out just right every time. While US recipes typically use cups and tablespoons, much of the rest of the world relies on grams and milliliters. This article helps you bridge that gap with practical explanations, real examples, and easy-to-remember tips.
Why cups and grams don't measure the same
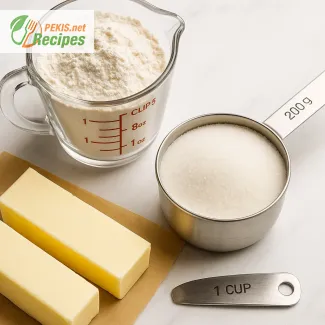
It might sound obvious, but 1 cup of flour doesn’t weigh the same as 1 cup of sugar. Cups measure volume, while grams measure mass, and this distinction is why one cup of different ingredients can have wildly different gram equivalents. For instance:
- 1 cup of all-purpose flour is about 120 g
- 1 cup of granulated sugar is about 200 g
- 1 cup of butter is approximately 227 g
These variations are why relying solely on volume can lead to inconsistent bakes. A packed cup of flour can contain far more than a properly spooned and leveled one, throwing off the entire structure of your cake or cookies.
Common mistakes when converting cups to grams
One of the most common missteps in baking is assuming that all ingredients follow the same conversion. This can lead to dry cakes, flat cookies, or dense breads. Another frequent error is not accounting for ingredient conditions—for example, whether brown sugar is packed or loose, or whether flour has been sifted.
Overpacking dry ingredients
Flour, especially, is prone to being over-scooped. If you dip the measuring cup directly into the bag, you're likely compressing it and adding 20–30% more than intended. That’s the difference between soft cookies and dry, crumbly ones. The solution? Weigh your flour on a scale—120 g per cup is the standard benchmark.
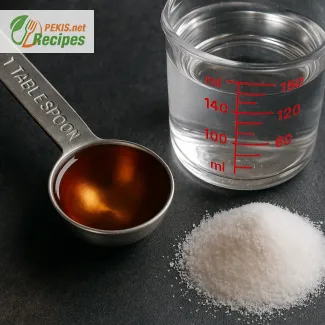
Misjudging sticky ingredients
Sticky or soft ingredients like honey, peanut butter, or yogurt tend to cling to the measuring cup, making it hard to get a clean and full measure. Again, converting these to grams gives you a far more accurate and mess-free process.
When to use cups vs. grams
If you're following an American recipe, you’ll most often encounter cups and tablespoons. These work fine for casual cooking but are less reliable for baking. When precision matters—think macarons, sponge cake, or bread—grams are the way to go. European and professional bakers nearly always rely on digital scales because consistency is key in baking chemistry.
You should also switch to grams when:
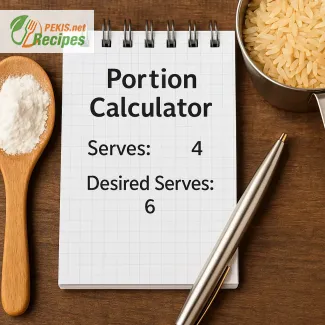
- You're scaling recipes up or down
- You want repeatable, consistent results
- You’re baking at altitude or in high-humidity environments
- You’re developing your own recipes
Cup to gram reference for common ingredients
While every ingredient has its own conversion rate, here are a few of the most common ones to keep in mind:
- All-purpose flour: 1 cup = 120 g
- Granulated sugar: 1 cup = 200 g
- Brown sugar (packed): 1 cup = 220 g
- Butter: 1 cup = 227 g
- Honey: 1 cup = 340 g
- Milk: 1 cup = 240 g
- Oats: 1 cup = 90 g
- Cocoa powder: 1 cup = 100 g
These values can vary slightly depending on brand, humidity, and how the ingredient is measured, but they serve as reliable starting points.
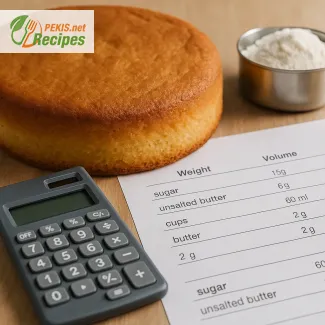
Why baking by weight leads to better results
Weighing ingredients takes out the variability of human error. Even a difference of 10 grams can noticeably affect the final result of a delicate batter or dough. Think of baking like a science experiment—precise ratios and balances are what give your end product structure, moisture, and flavor.
By switching to grams, you eliminate:
- Misjudged cup volumes
- Variations in ingredient density
- Packing inconsistencies
The result? Breads that rise properly, cakes that stay moist, and cookies that bake evenly.
Tips for switching from cups to grams
If you’re used to cups and want to transition to grams, here are a few tips:
- Get a digital kitchen scale. Choose one that measures in 1-gram increments and allows you to tare the weight of your bowl.
- Use verified conversion charts. Don’t rely on generic calculators; instead, check trusted culinary sources or baking professionals.
- Practice with simple recipes. Start by converting easy recipes like pancakes or muffins to see how it affects consistency.
- Label your jars. If you frequently use certain ingredients, add gram equivalents directly on the containers.
Embrace precision in your baking
The beauty of using gram-based baking is in its predictability. Once you switch from volume to weight, you’ll rarely go back. Your cookies will spread evenly, your cakes will rise consistently, and your confidence in the kitchen will soar.
Next time you find yourself wondering whether 1 cup of sugar really equals the same as 1 cup of oats, remember: it doesn’t. But with a scale and a solid cup-to-gram chart, you’ll never have to guess again.
Calculators